
Lesson Overview
Learn how Java translation reports syntax, names, types and structure before a program can run.
Portfolio focus: Create a deliberate missing-semicolon error.
Starter: think before typing
Before running this build feedback example, find the line where the main idea becomes active. Write a prediction: what must already be true for that line to work, and what should be different after it runs? The checked run ends with `Mark: 72`; predict how the focus line helps produce that evidence.
Learning Objectives
- Explain what translation checks before a program runs.
- Read a simple Java build message without panicking.
- Fix one reported issue at a time.
- Use build feedback to improve your mental model.
Learning Outcomes
- By the end of the lesson, you can explain what translation checks before a program runs.
- By the end of the lesson, you can read a simple Java build message without panicking.
- By the end of the lesson, you can fix one reported issue at a time.
- By the end of the lesson, you can use build feedback to improve your mental model.
Why this idea exists
Java source code has to be translated before the machine can execute it. That translation step checks whether the program obeys the language's grammar, naming rules and type rules.
Historically, automated translation made programming more portable and expressive than writing machine instructions directly. It also introduced formal build feedback: exact reports about syntax, names, types and structure.
This lesson belongs early in the arc because build feedback explains why Java code has to be precise before it can run. The point is not to make this the centre of the whole course, but to understand one important tool in the programming workflow.
Deep dive
Mechanism in this example
The important mechanism is visible around `int mark = 72;`. Read it as a concrete move in the program, not as decorative syntax: identify what value, object, branch, call or boundary is being created at that point.
Design pressure
This lesson belongs early in the arc because build feedback explains why Java code has to be precise before it can run. The point is not to make this the centre of the whole course, but to understand one important tool in the programming workflow.
Failure mode to watch
For Compilation and Build Feedback, deliberately disturb the assumption behind `int mark = 72;`: use an awkward value, missing input, wrong order of calls or boundary case. The useful question is how that disturbance exposes a weakness in the build feedback design.
Extension step
Extend the example by doing this: Copy the build message into your notes. The point is to make one small change that forces you to revisit the concept, rather than adding unrelated features.
Portfolio standard
The portfolio note should not repeat the lesson wording. It should show the edited code, the run result, and your own explanation of this evidence: fix the error and explain what changed.
Lesson visual
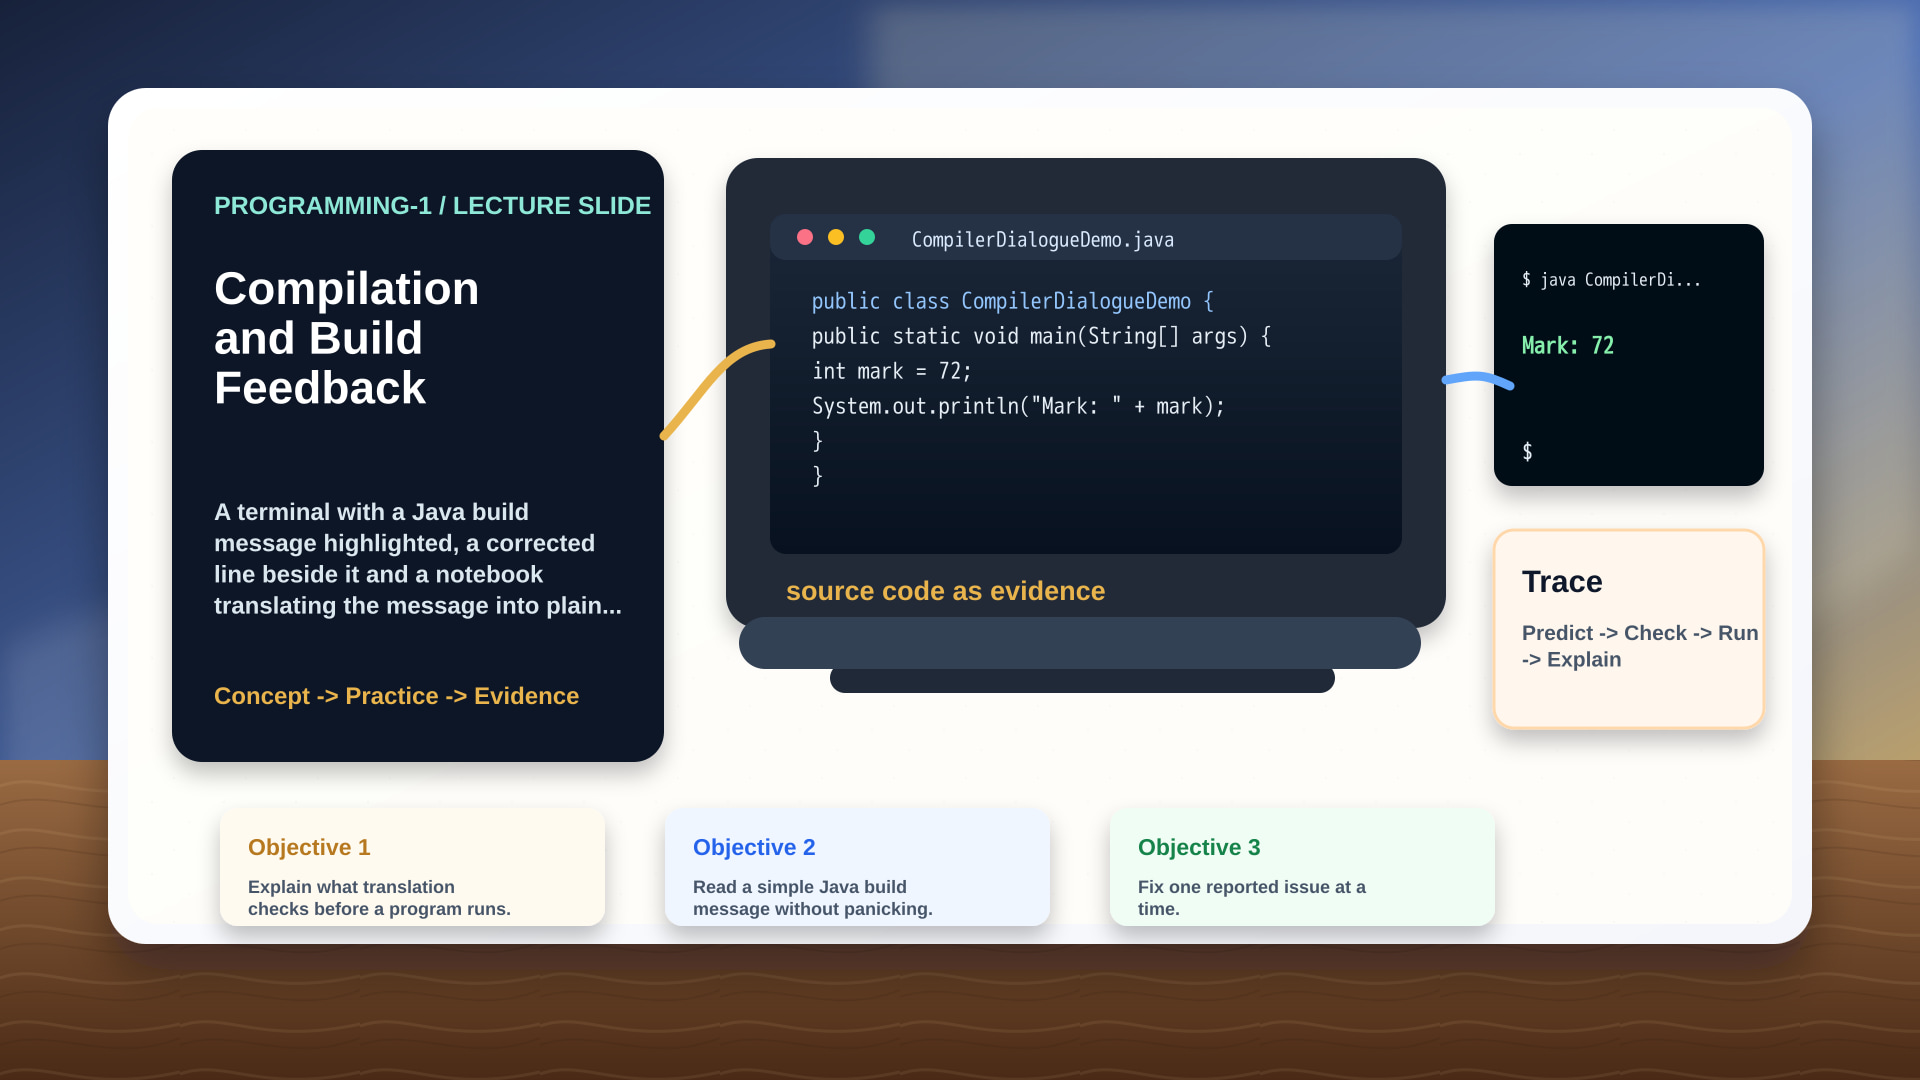
Type this and run it
Create CompilerDialogueDemo.java, type the program, and run it before changing anything. This section is about reproducing the checked baseline.
public class CompilerDialogueDemo {
  public static void main(String[] args) {
    int mark = 72;
    System.out.println("Mark: " + mark);
  }
}
Build and run it with:
javac CompilerDialogueDemo.java && java CompilerDialogueDemoExpected baseline: Mark: 72
Run the code in your browser
Use the editor as an experiment surface. First run the checked version, then make one small change to the part of the program that demonstrates build feedback and compare the new behaviour with the reference output.
Mark: 72Line-by-line explanation
Read the code as a sequence of responsibilities. The focus line for this lesson is int mark = 72;; the surrounding lines prepare it, use its result or make the behaviour observable.
public class CompilerDialogueDemo {This names the runnable class for the Compilation and Build Feedback example, giving the compiler and JVM one clear unit to build.
public static void main(String[] args) {This is the program entry point. In Compilation and Build Feedback, it keeps the demonstration of build feedback in one traceable starting script.
int mark = 72;This introduces mark as named state for Compilation and Build Feedback. Later lines can read, update, pass or print that specific value as evidence.
System.out.println("Mark: " + mark);This prints "Mark: " + mark as the observable evidence for Compilation and Build Feedback. The output lets the learner check whether the build feedback idea behaved as predicted.
}This closes the innermost Compilation and Build Feedback block, so the immediately preceding method, branch or loop has finished.
}This closes the outer Compilation and Build Feedback structure, returning the reader to the surrounding class or file.
Worked example
From code to explanation
Problem: Use Compilation and Build Feedback to complete a small portfolio-quality step: Create a deliberate missing-semicolon error.
Method: Locate the line `int mark = 72;`, explain the exact role it plays, then decide what you would change to extend the example without changing the whole program.
Reveal worked answer
The checked run should produce `Mark: 72`. A strong answer links the result back to build feedback: what was created, selected, stored, called or protected, and why that matters for the portfolio task.
Trace the program
Before: Before the key operation, identify the relevant value, object, branch or resource that the build feedback concept depends on.
During: Trace `int mark = 72;` as the Compilation and Build Feedback example executes. Say whether that operation creates data, checks a condition, calls behaviour, stores information or crosses a boundary.
After: Compare the run with the expected evidence: `Mark: 72`.
Change: Now copy the build message into your notes, run again, and explain the smallest reason the behaviour changed.
Common misconception
A common mistake in compilation and build feedback is treating the example as a finished answer. For build feedback, the important question is narrower: which operation carries the idea, what does it make possible, and what would break if you changed it carelessly?
Quick checks
1. In this Compilation and Build Feedback example, what is the best reason to focus on `int mark = 72;`?
2. Which evidence is strongest after you edit and rerun this example?
How to study this lesson
For Compilation and Build Feedback, predict how build feedback changes the run before you press Run.
Use the first portfolio task as your main edit: Create a deliberate missing-semicolon error.
Use the second task as your variation: Copy the build message into your notes.
Finish with evidence, not a diary entry: Fix the error and explain what changed.
Portfolio Practice
- Create a deliberate missing-semicolon error.
- Copy the build message into your notes.
- Fix the error and explain what changed.
Final self-check
Can you explain the key operation?
Explain the line identified in the quick check in one or two sentences. Your answer should say what it does before the output Mark: 72 appears.
Can you justify the portfolio evidence?
Your evidence should include the original run, one edited run, and a short note explaining how the edit affected build feedback.
Study route
Practise build feedback by predicting the Java example, typing it, running it in the browser, tracing the result and saving portfolio evidence.
Next, move into Declaring and Assigning Variables and carry forward one improvement from this lesson into the next program.